I decorated for the Holidays a little early this year, as our home was featured on the Midtown Holiday Home Tour in Indianapolis. It may surprise you that the the entire house was pulled together and decorated for the tour in FIVE DAYS. Of course, with the exception of a little planning well in advance, the actual work to get ready for the throngs of folks who toured happened the Monday through Friday before the Saturday and Sunday Tour.
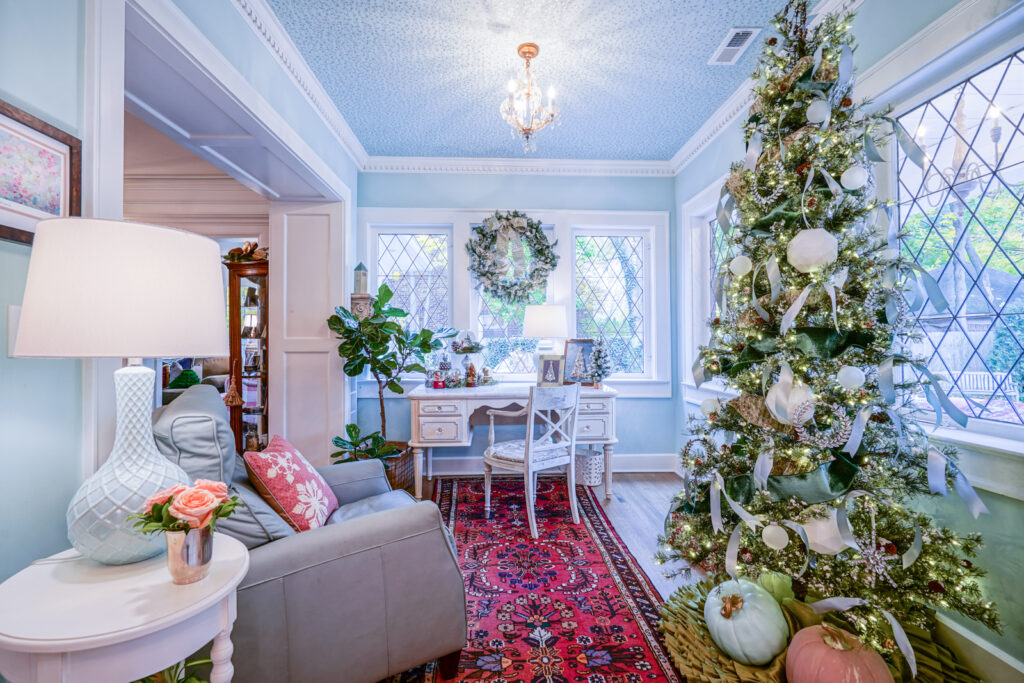
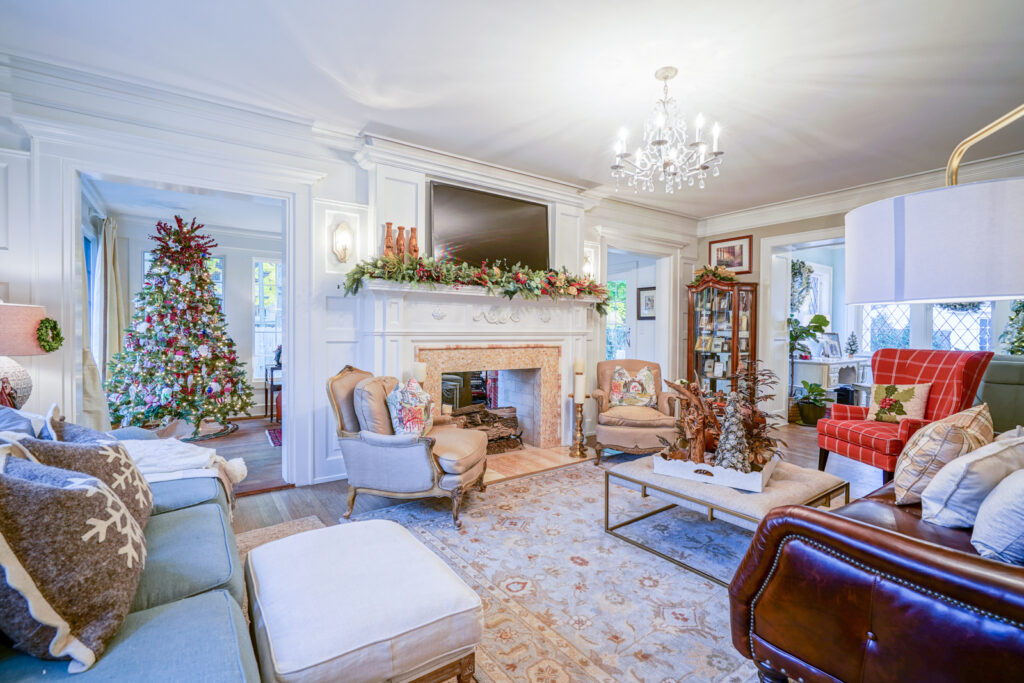
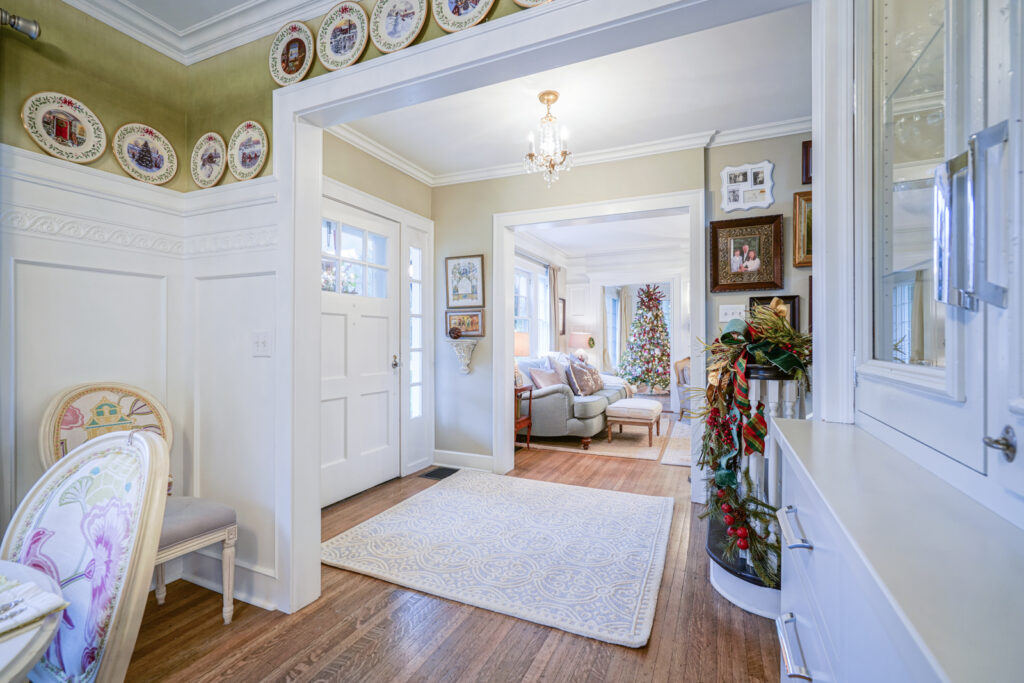
Holiday Decorating in 3 Phases.
When the house is not on a tour, I typically divide my decorating into three phases, each of which takes 3-4 hours.
Phase 1 happens right after Thanksgiving when I focus on the exterior of my home.
I make bows for live wreaths which are hung on twelve first floor windows. I fill the window boxes with loads of evergreen, holly, twisted grapevine, and whatever other details I want to display. One year I may use a flocking spray to create a snow kissed box……other years I may reach for colorful props like oversize bells or ornaments.
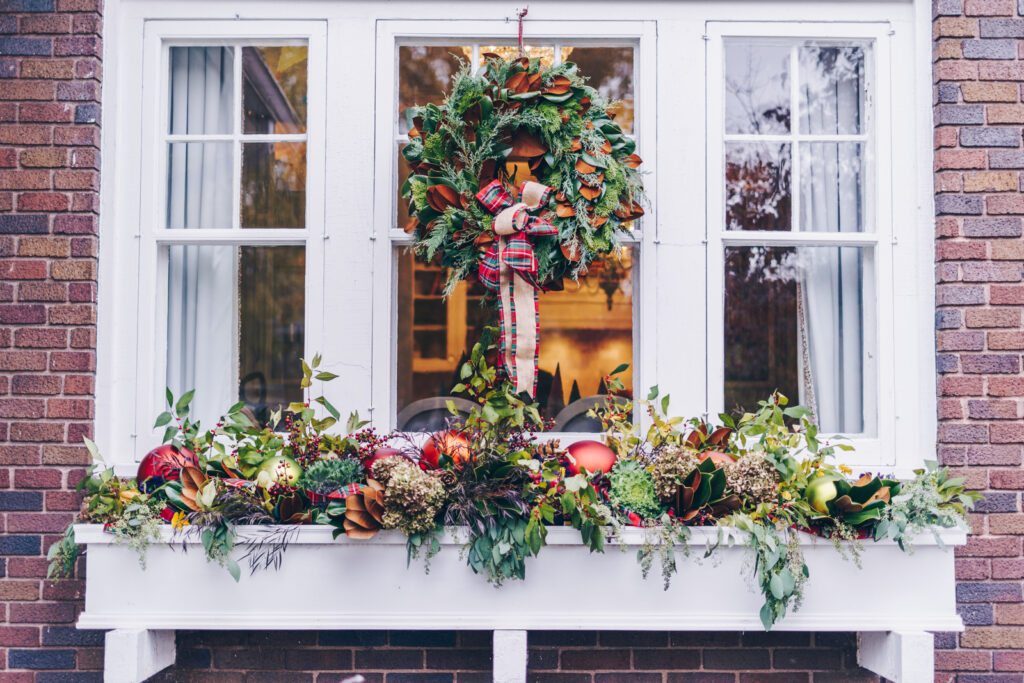
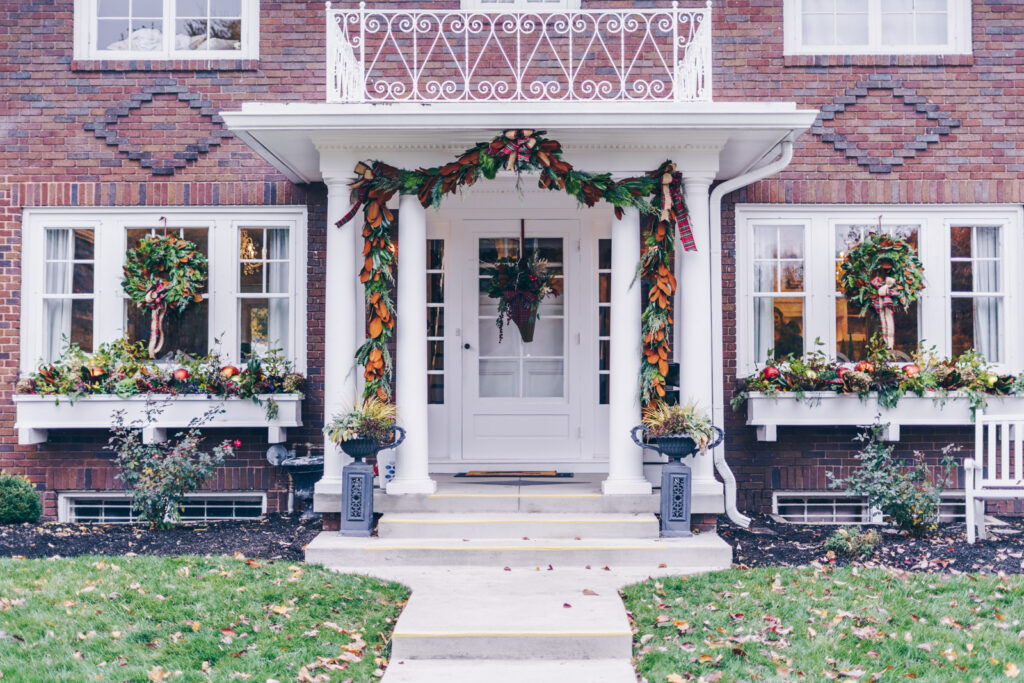

Phase 2 is the interior of the house with the exception of the Christmas Trees.
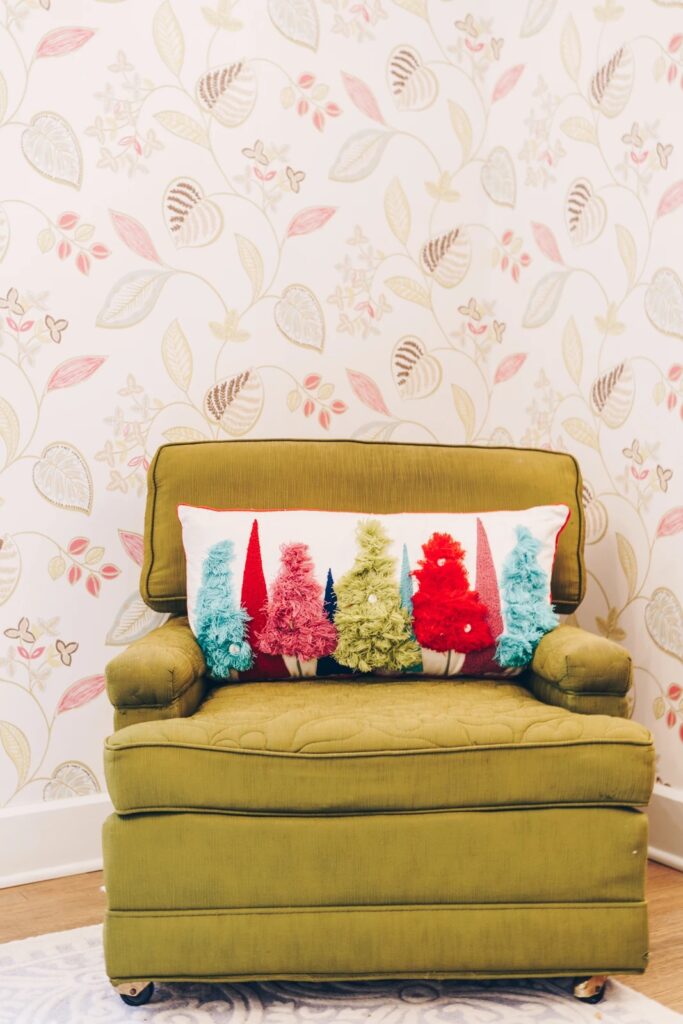
This phase includes replacing our standard blankets and pillows with themed, plaid or fur accents. Nativities replace normally displayed trinkets. And a mix of garland, bows, special decorations, and some new additions grace each mantle and most surfaces around the house.
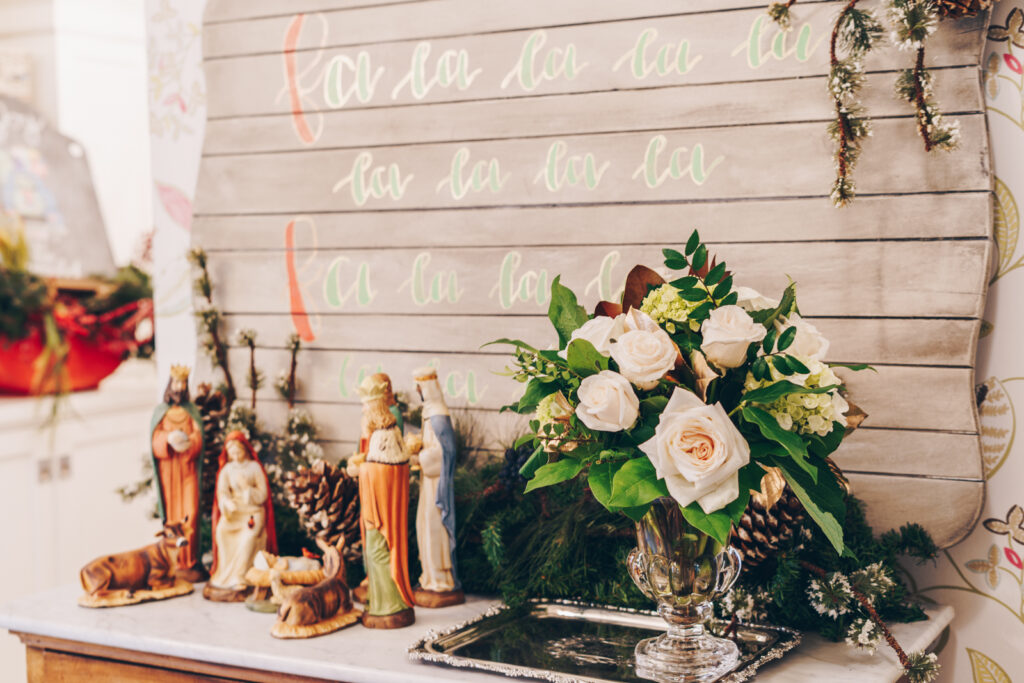
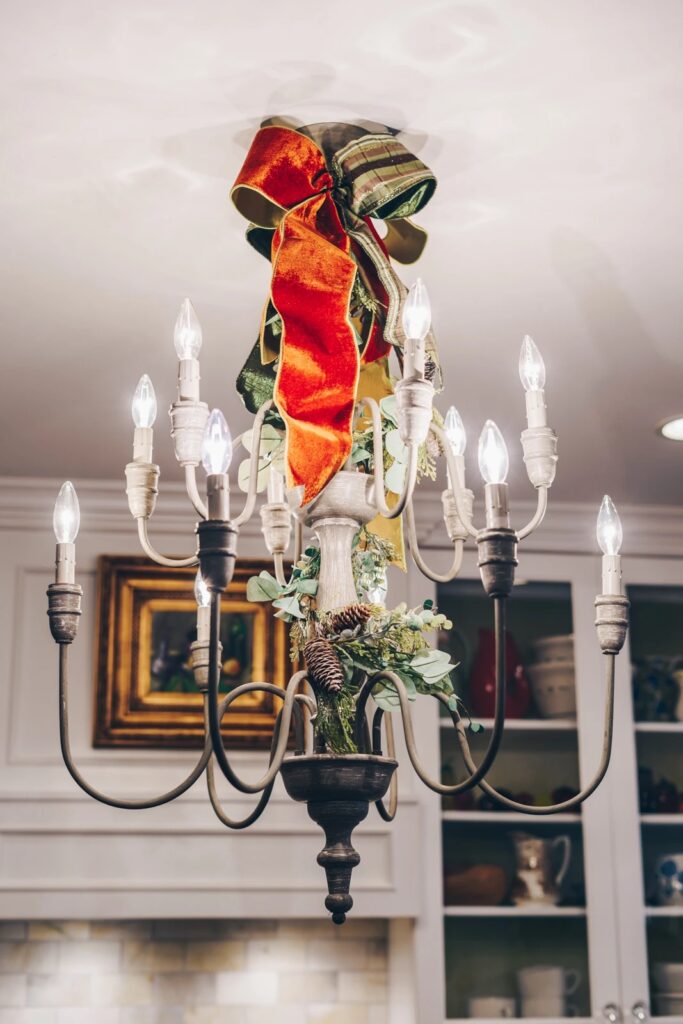
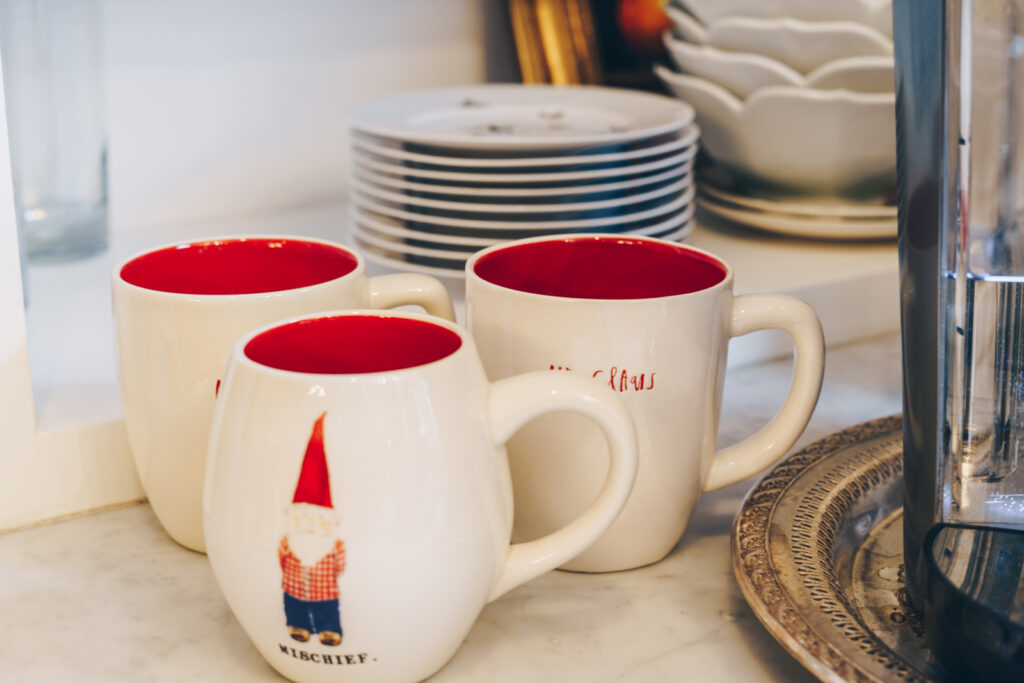
Traditions are honored, like replacing the everyday plates and coffee cups with special Holiday plates in the cupboards. Family decorations are celebrated and put in prominent spots while other collections are featured in unpredictable or unusual locales. When finished, each space takes on a life of its own and the house looks, smells, and simply “lives” different than it did just the day before.
Phase 3 comes a week or so into December, when the trees go up.
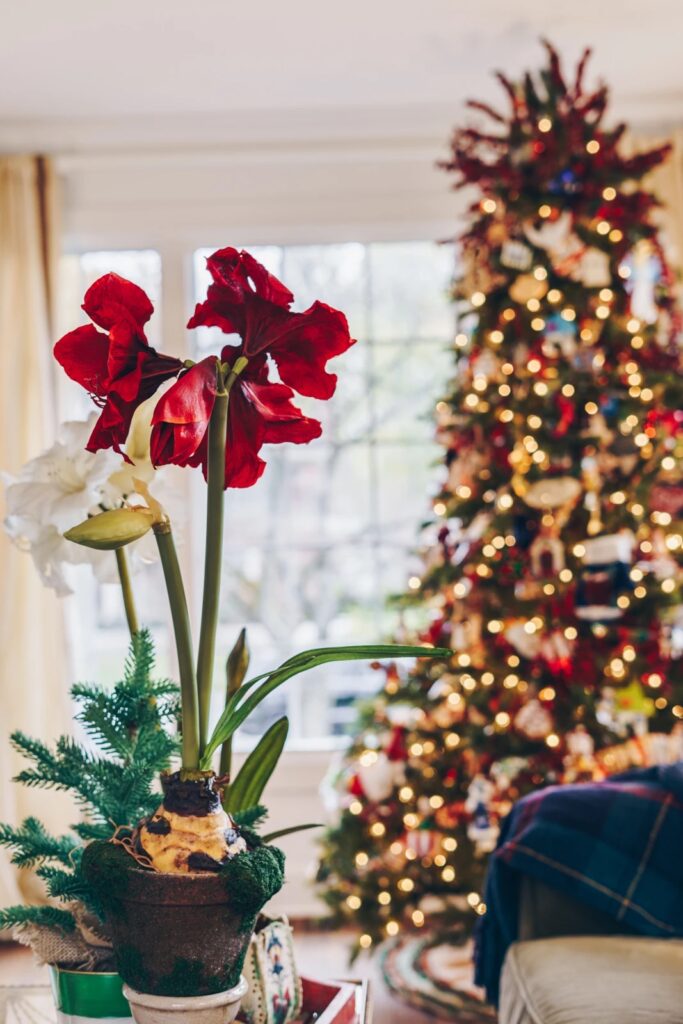
Waiting a few days later than the first and second phase of my holiday decorating ritual helps me in two ways. One, I like to leave my trees up until New Year’s Day, so by waiting it helps me not tire of the Christmas Trees. Two, it allows me to devote the time and attention to what feels to me is the most personal tradition and decoration of them all. Also in this phase is the twinkle of lights that will grace our home both from the inside and from the outside looking in.


Holiday decorating best practices.
There are a few best practices I always try to follow when working through all the phases of my Holiday Decorating. These tend to help me navigate the tasks more easily, enjoy the process more fully, and end each phase with a beautiful result.
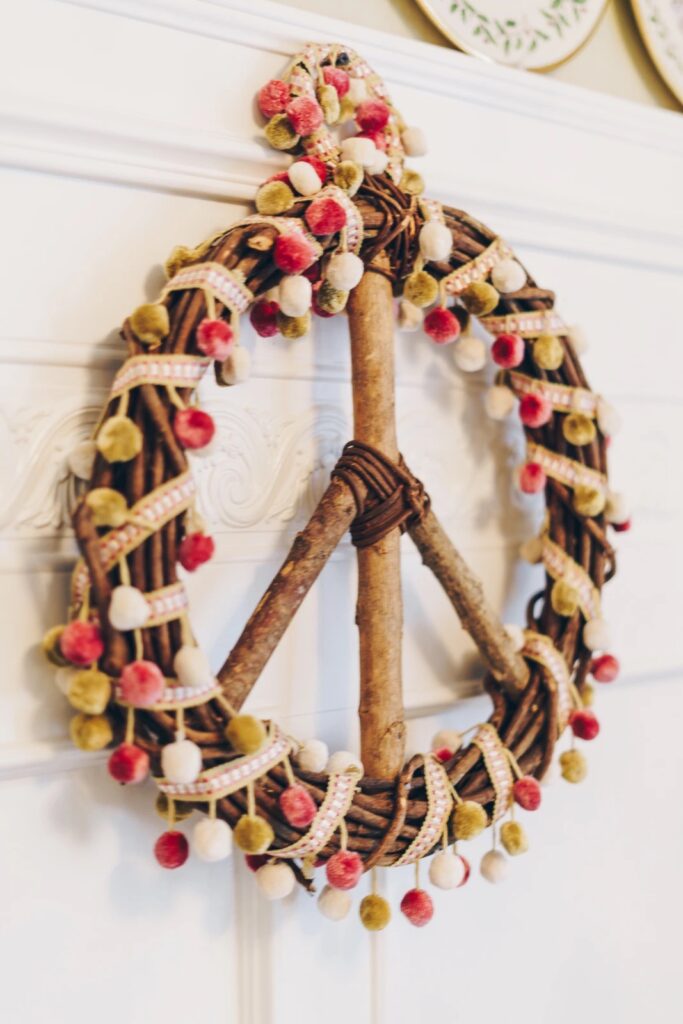


First, whether interior or exterior work is being done, start with a clean slate. Remove all other decor from surfaces, walls, etc. At my house, the exterior autumn clean up is typically done right before Thanksgiving, so that takes care of the outside. On the inside I use a large portable container or box per room for the designated for the items I remove. I clean the interior areas of my home as I go along, before decorating… as I know the likelihood of my spaces getting a good cleaning is pretty slim until it all comes down on New Year’s Day.
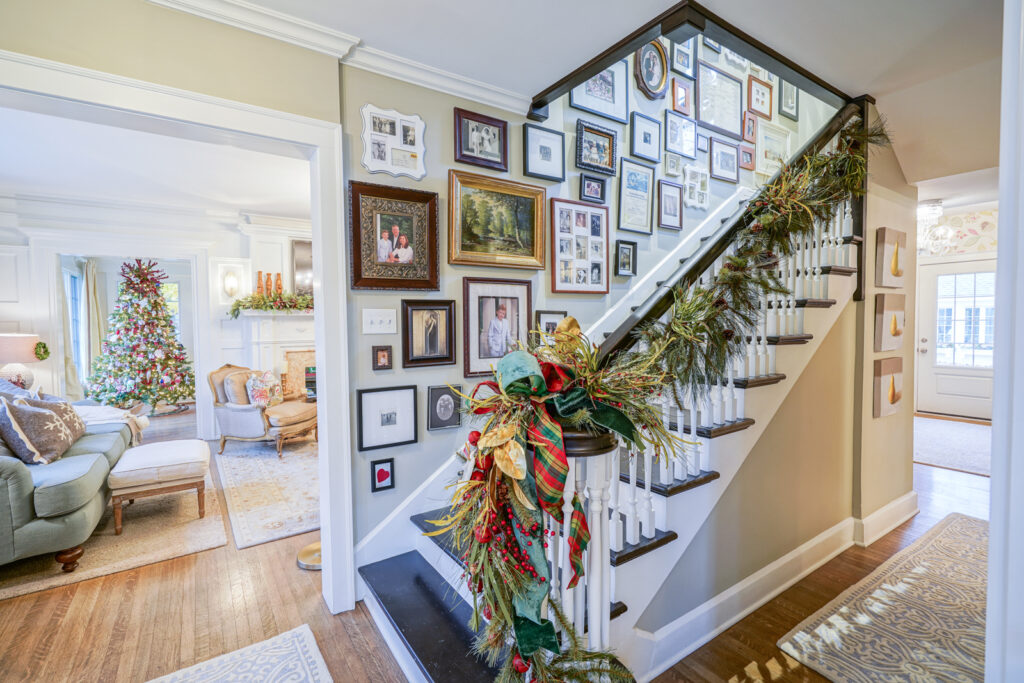
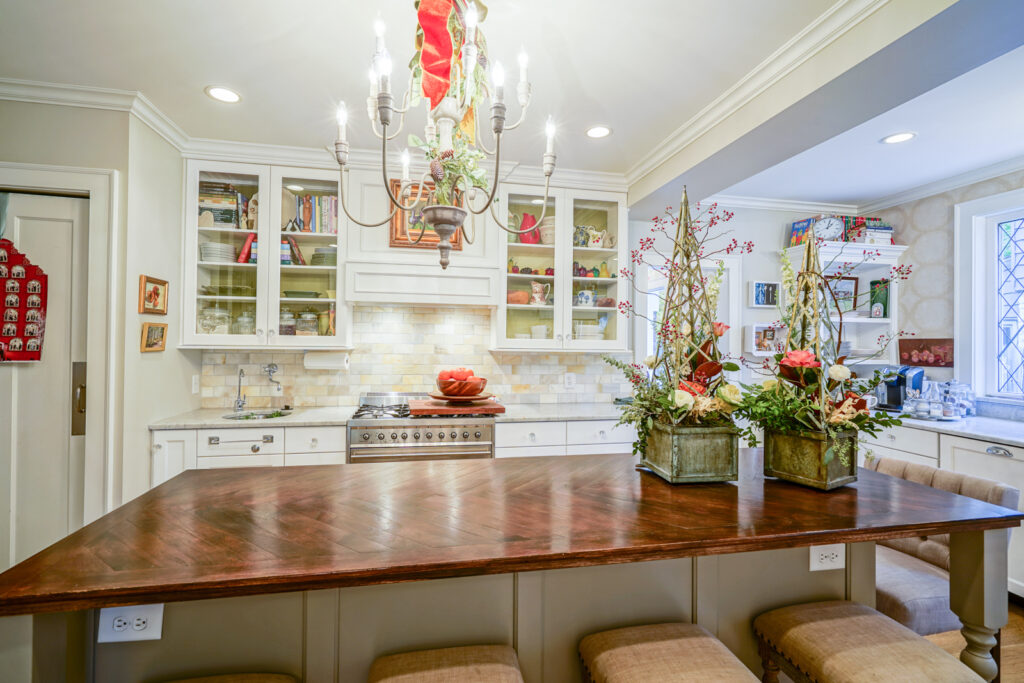
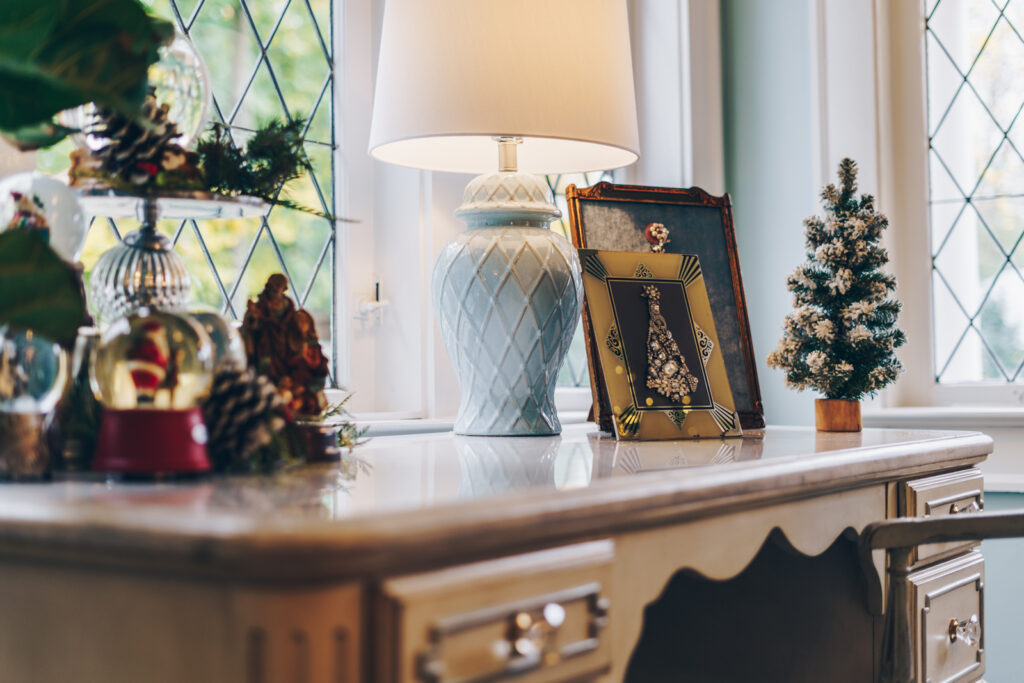
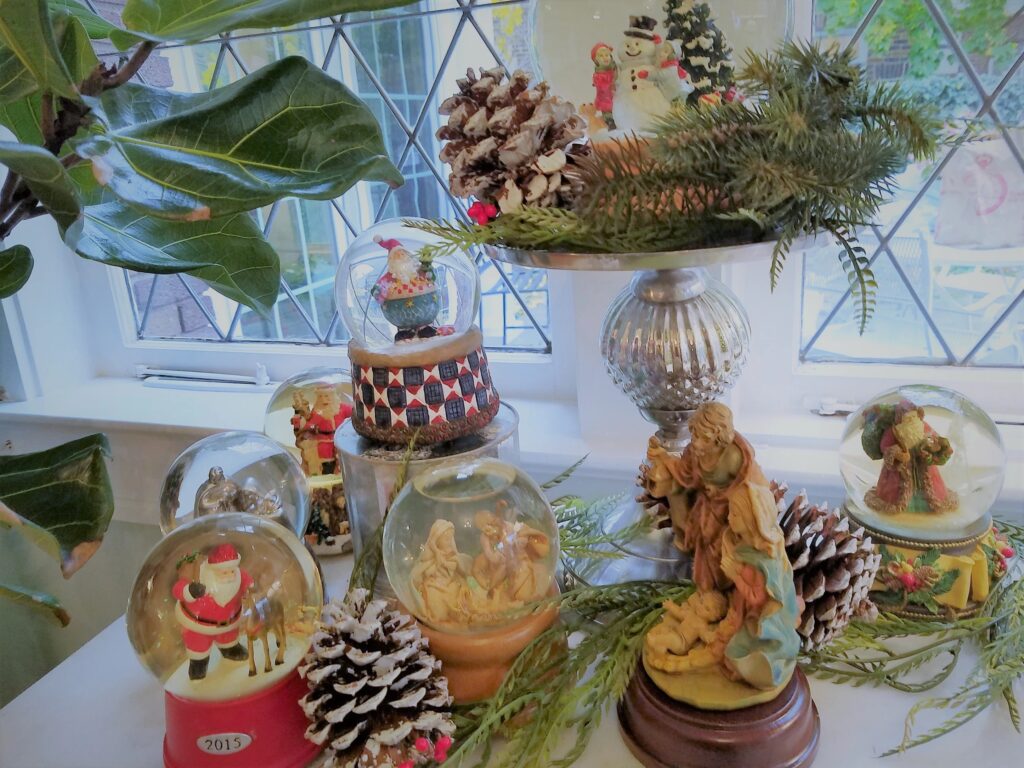
Second, group “like with like”. Rather than placing a snow globe in every room, why not group them together and max them out on a sofa table or in a glass front cabinet? Use risers and a string of light to create height and depth. Use all the same type of garland or ribbon in one room and create a story or “theme” for each area. Remember to fluff, clean, pull out anything that looks tired, and touch up as you go along. I always have touch up pens, a glue gun, and cleaning supplies handy for this step.
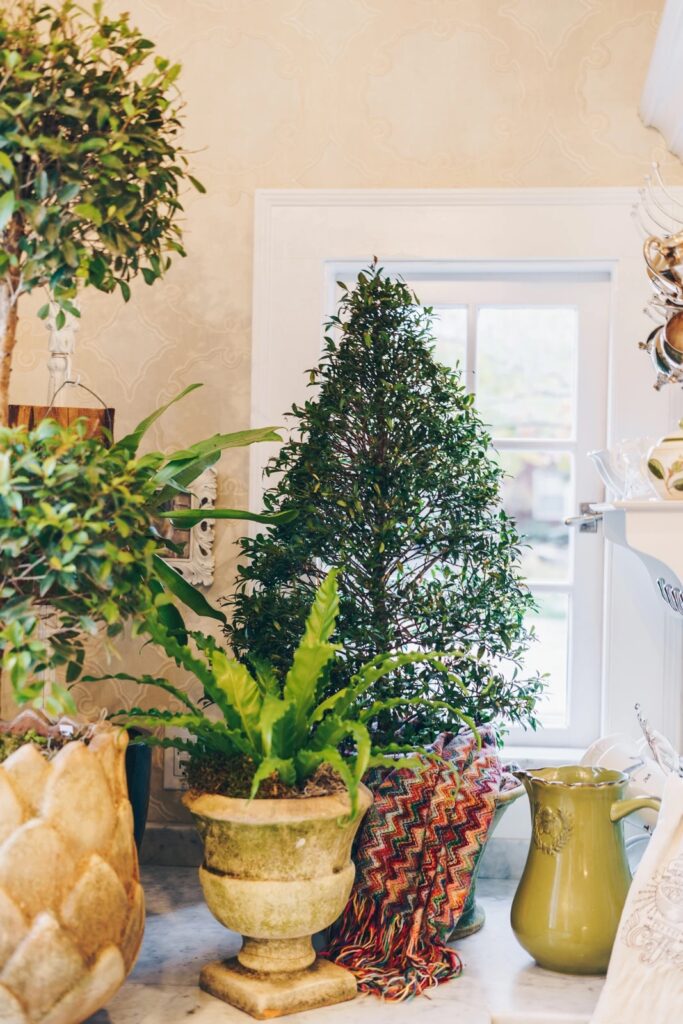
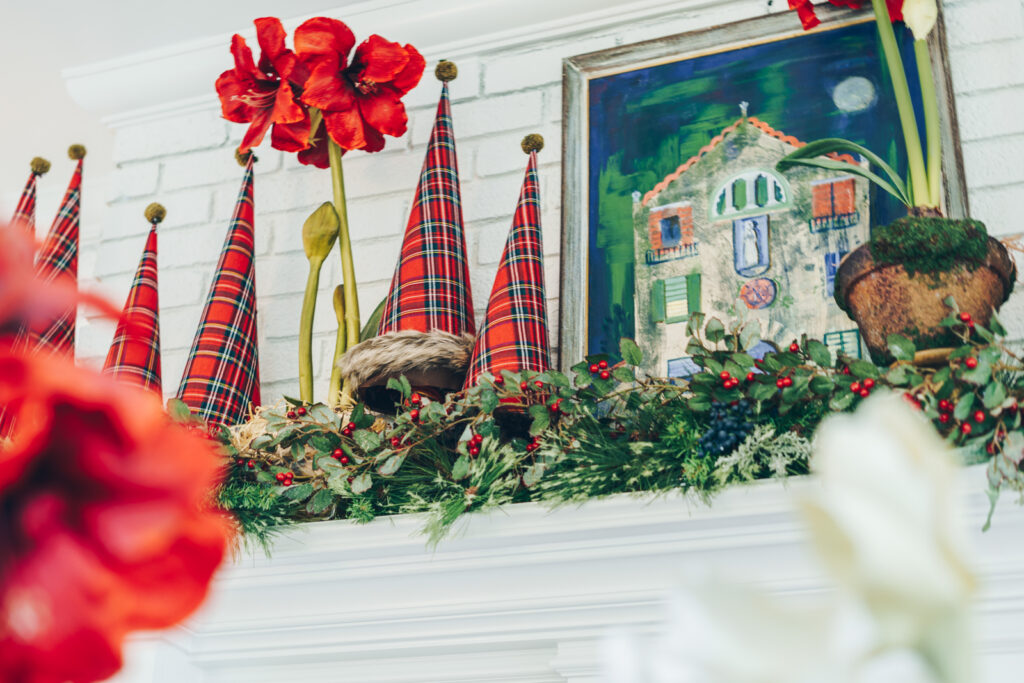
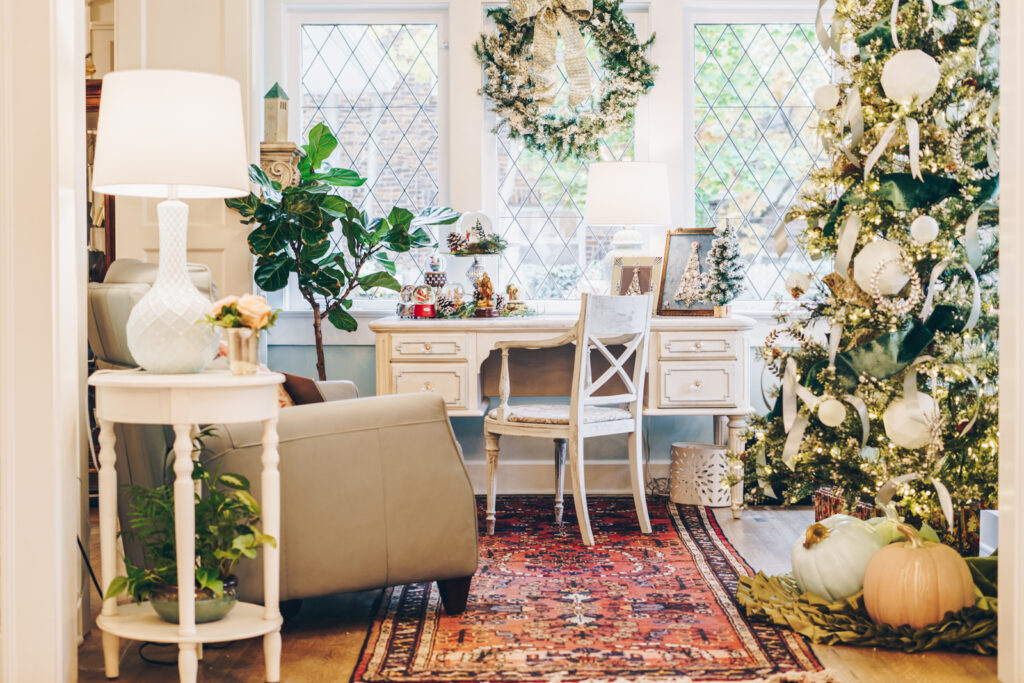
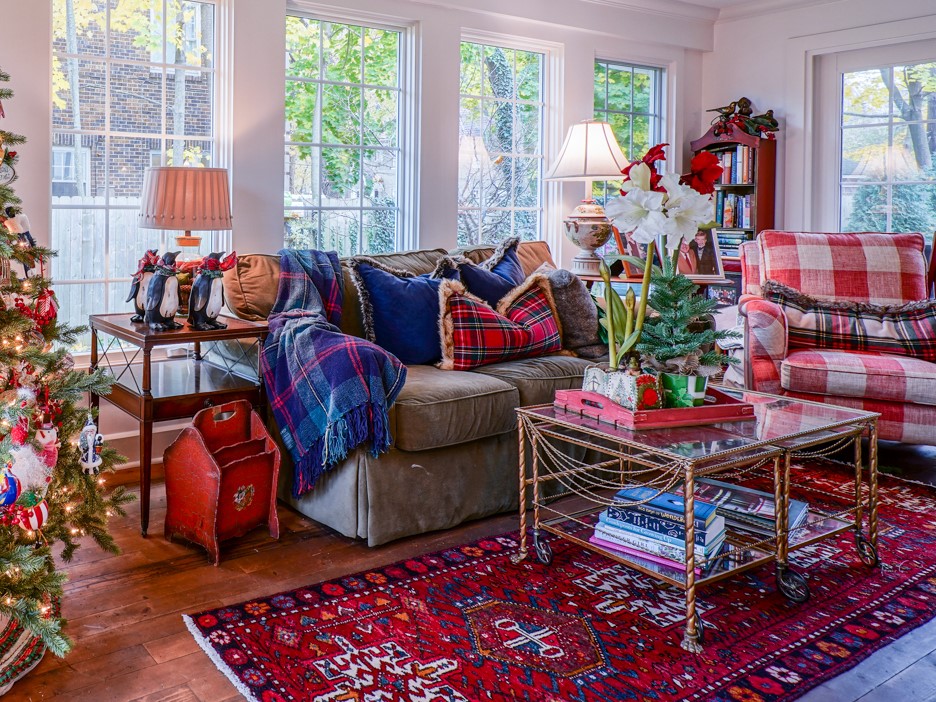
One year I pulled all my Santa Claus ornaments from my collection and had a “Santa only” tree as my second Christmas Tree. This year, I grouped all things plaid in my den, where our main Christmas Tree is displayed. Over a dozen different plaids all together in one room made for a vibrant and fun display. Other items featuring the colors in the plaids were used to break up the theme a bit, but it was certainly a statement.
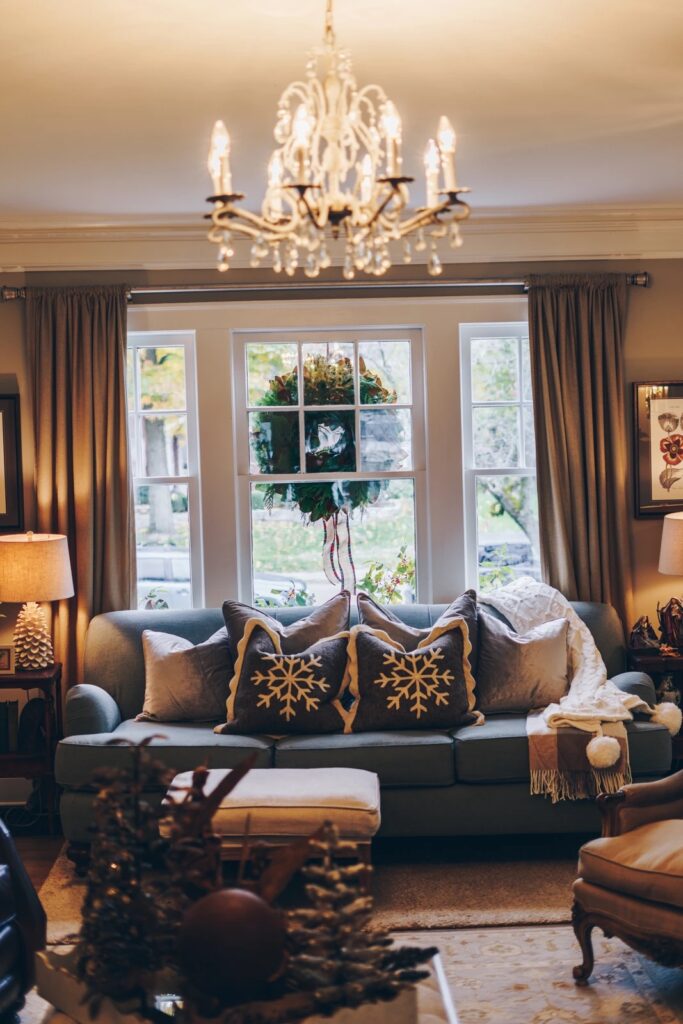
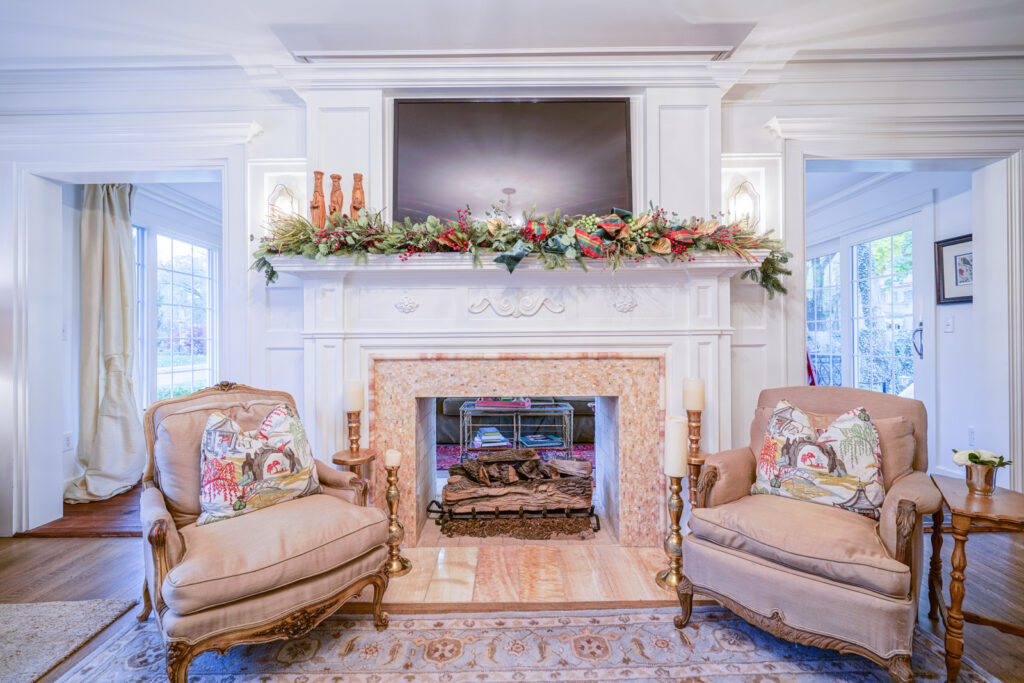
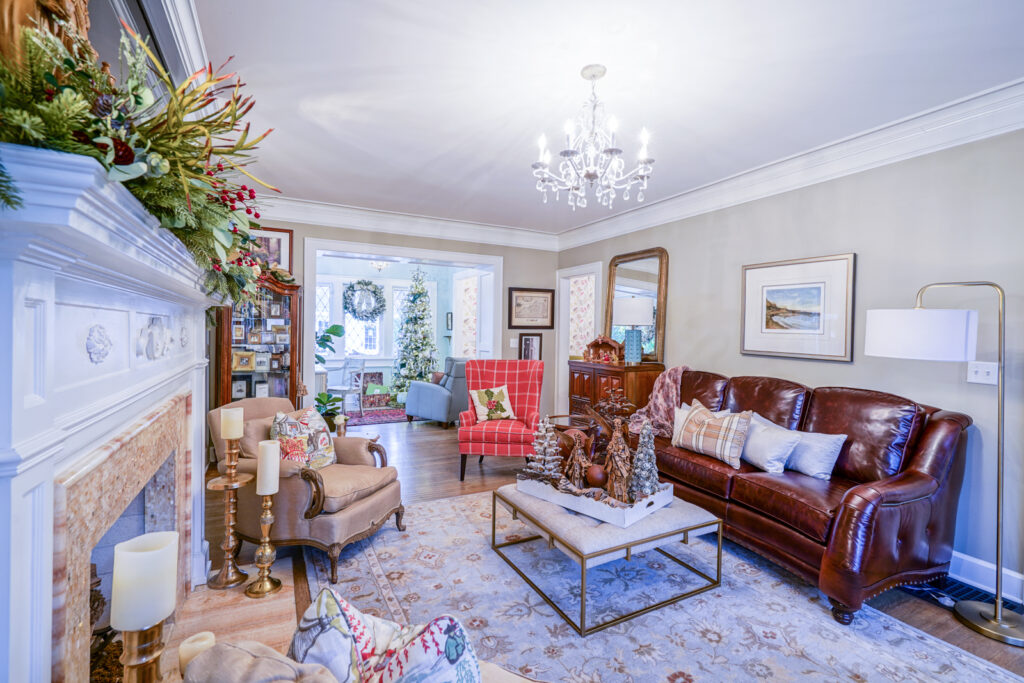
If you have a staple in a room that stays year round, find decor that compliments. For example……the “front and center” print in my living room is a pair of Asian Toile pillows that add life and color to a pair of bergere chairs in front of my fireplace. I play off these pillows for the rest of the Living Room decor, as I feel like this room is built around the pillows. They lend themselves to adding antiqued finishes such as the family heirloom angels, the Three Wise Men, brass candle holders, and a pop of colors found in the pillows themselves.
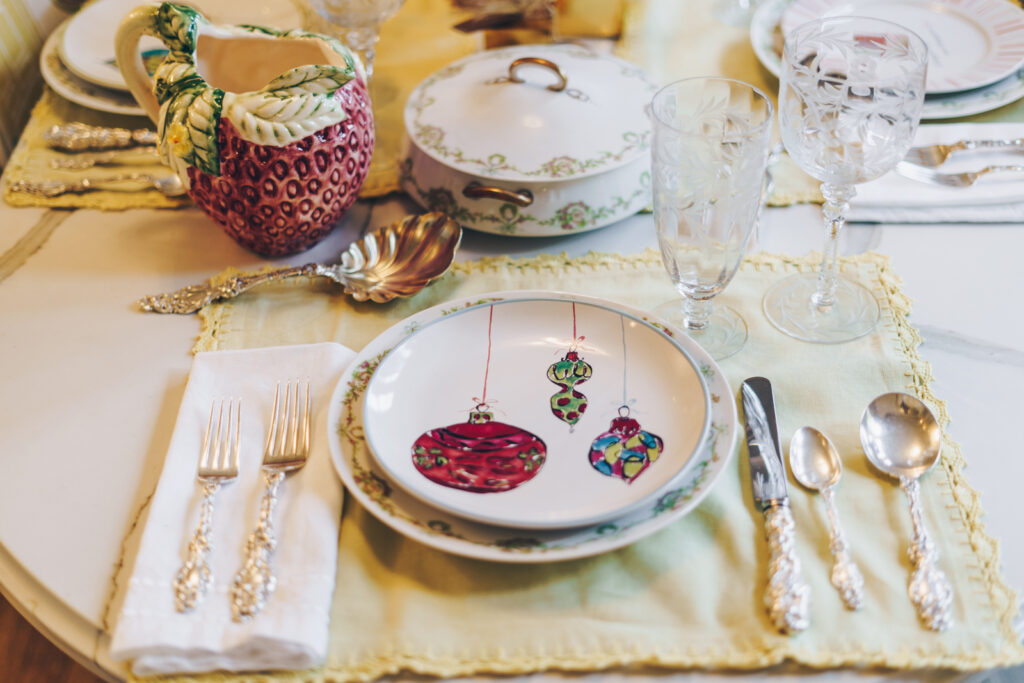
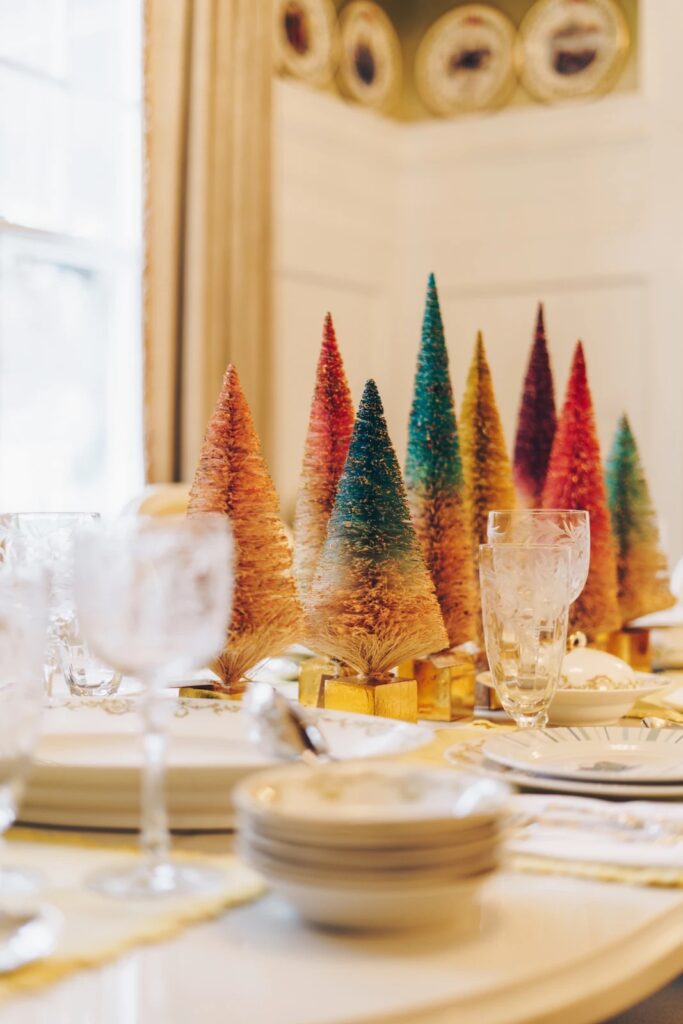
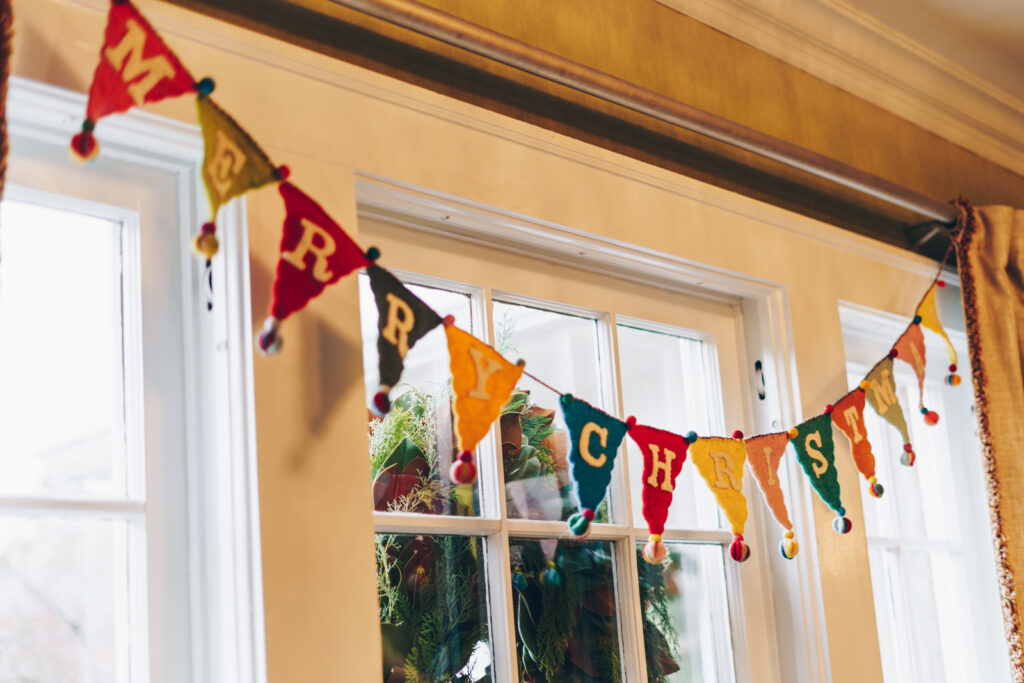
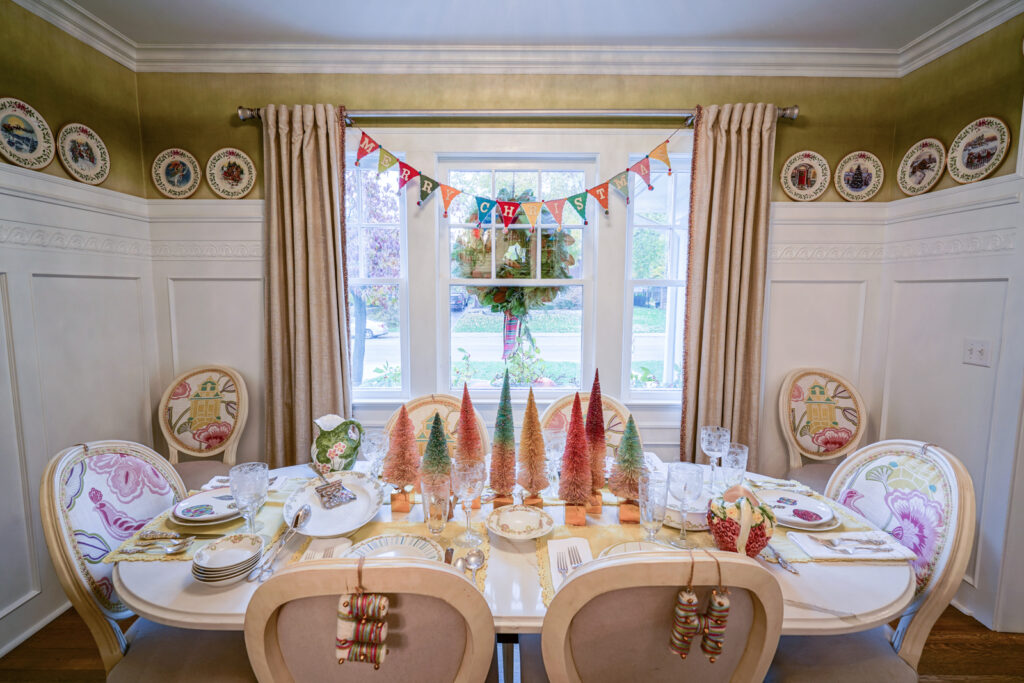
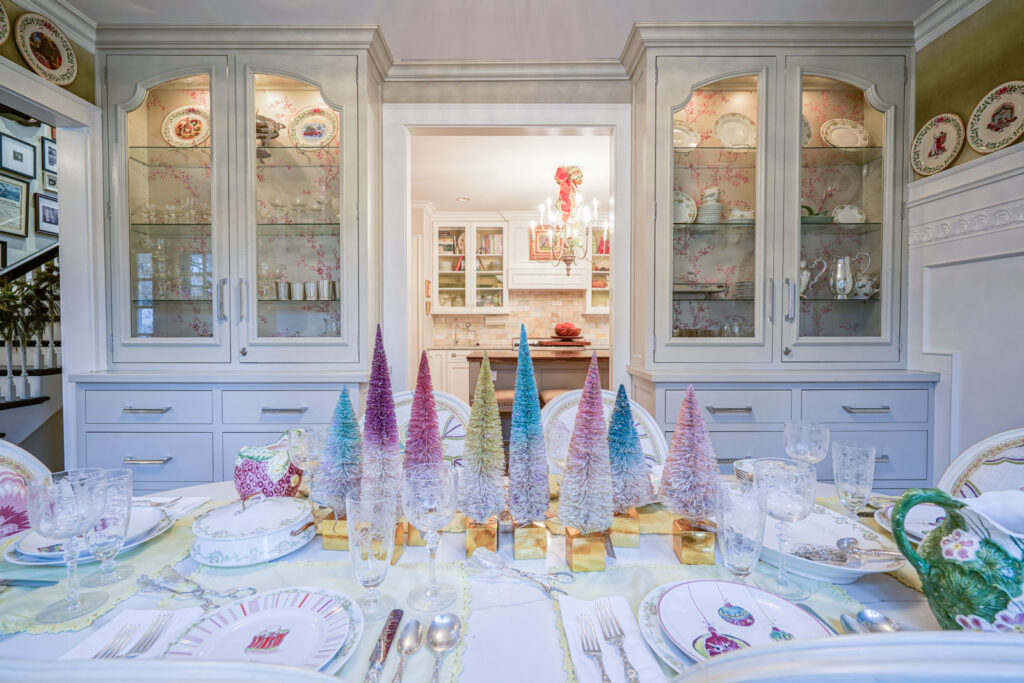
In my dining room, I used items containing the colors that room is decorated in 365 days a year. Crisp blues, pinks, teals, chartreuse and white set the tone for a festive luncheon table scape. As I designed the dining room and gathered all the items I would display, I added a few new things, like the banner garland which wishes everyone a Merry Christmas. The narrative in my head was that of a ladies ornament exchange luncheon where I would treat my best friends to a lovely setting, delicious food, a break from the hustle of the holidays, and an ornament to boot.
As a third rule, I like to mix live decor with artificial. The holidays are stressful enough without being worried that your holly will turn crispy and your amaryllis will not bloom on cue. Live garland with a few volume-adding artificial picks is always a good idea. I will group some amaryllis bulbs I’m forcing alongside my silk amaryllis to create a look of fullness, life, abundance, and anticipation.
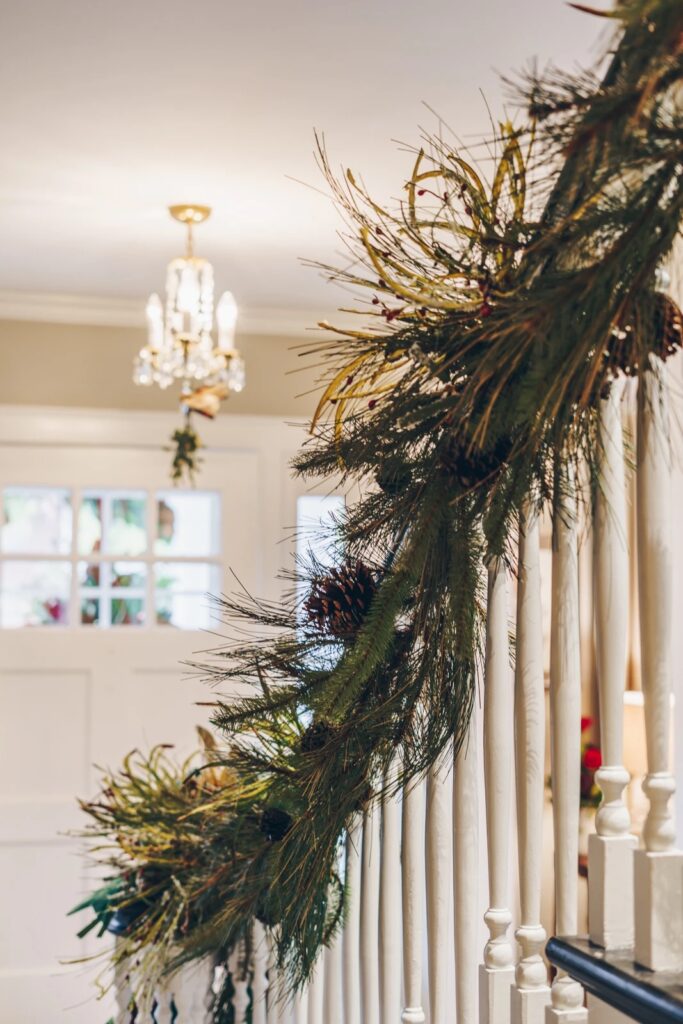
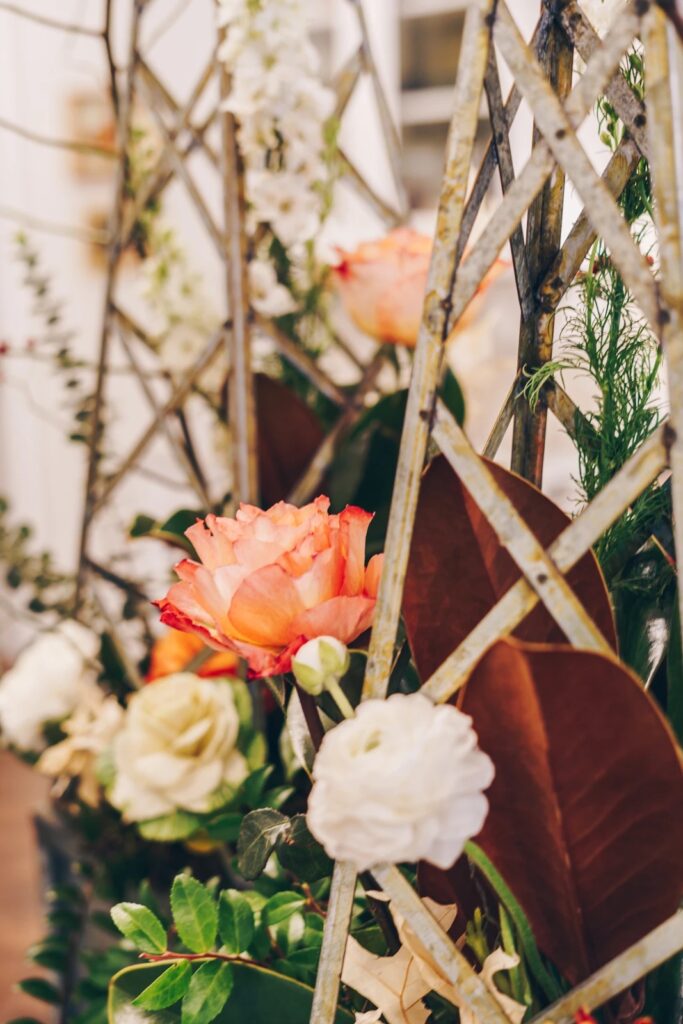
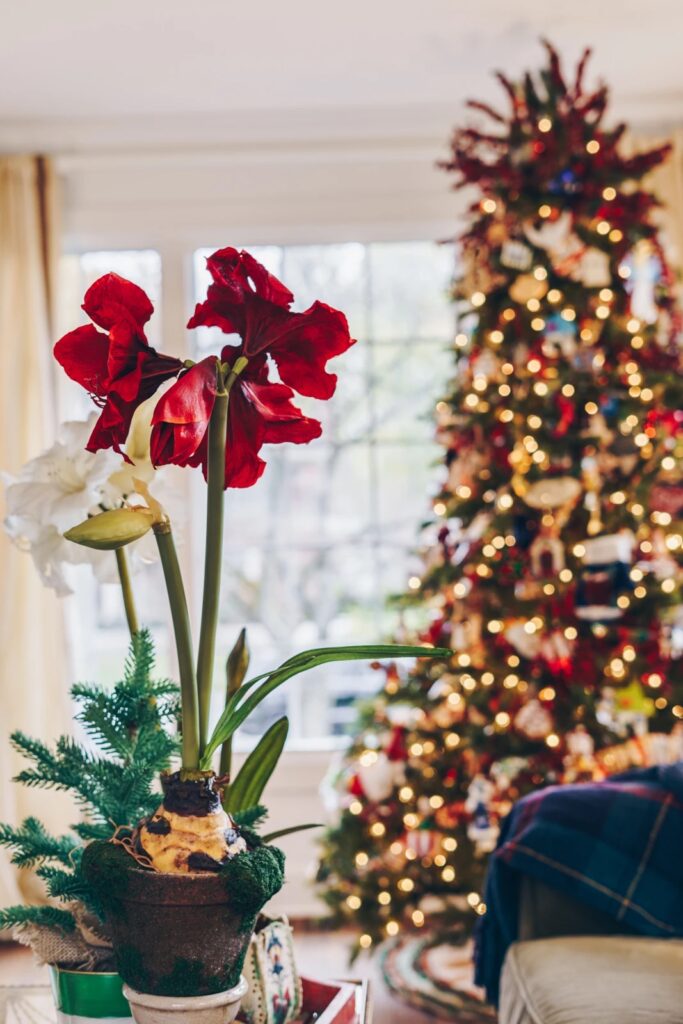
With a clean slate created, groups of decor organized and layed out by theme or story, a load of some “real” greenery or other decorative elements…….you are ready for my fourth tip. Layer up! Layering with a base, accents, height, depth, color, texture and dimension will bring your spaces to life and this tip can be applied to every area of your home at the holidays. Whether a table setting, a Christmas Tree, an exterior planter or a mantle……layers upon layers using the first three steps as your guide will deliver a gratifying vignette……room by room.
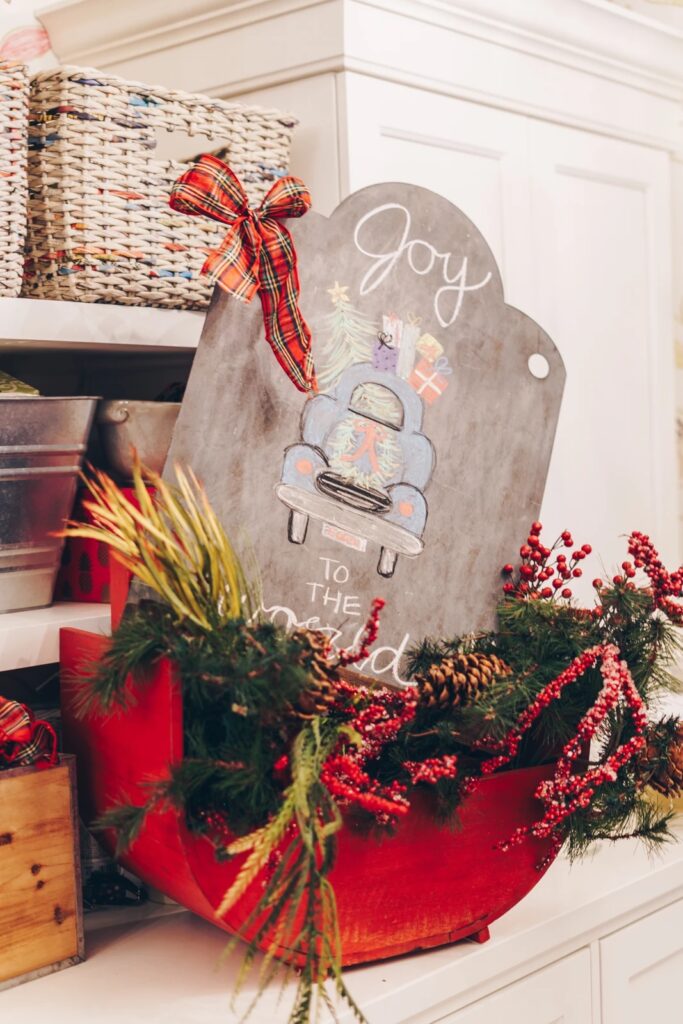
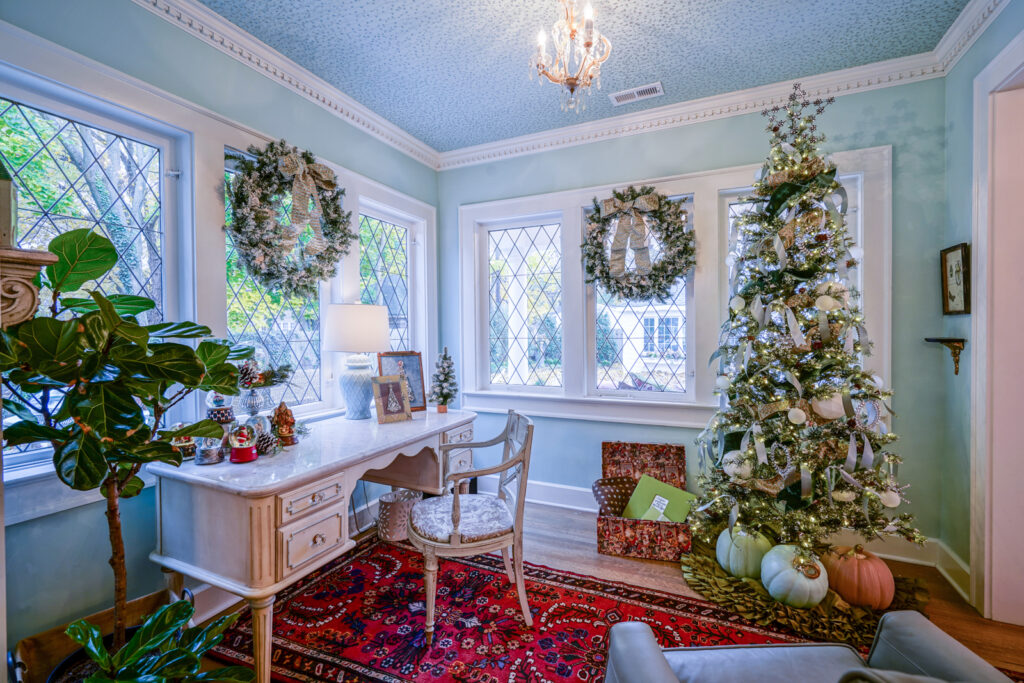
Here is to a fun, beautiful, full of love and life Holiday Season. Now go decorate!